

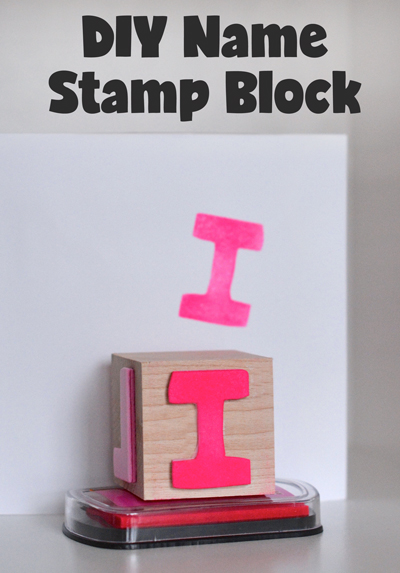
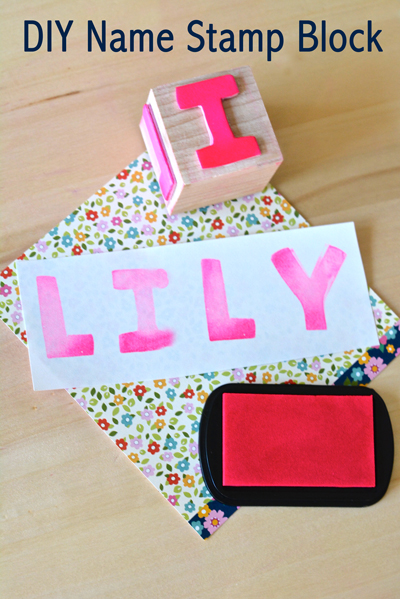
DIY Name Stamp Block
I’m so excited to share this DIY name stamp block with you today. When FamilyFun Magazine contacted me and asked if I wanted to share this with my readers I immediately knew it would be a hit. Also, this is not a sponsored post, just something I loved! My daughter recently learned how to spell her name and now she is obsessed with typing it, writing it and stamping it. So this block was the perfect DIY gift for her.
This post contains affiliate links.
Here are the supplies I gathered to make this DIY name stamp block for my daughter:
- Craft foam
- UHU glue
- 2 inch wooden blocks
- Stamp pad & paper (optional)
- Paint & brush (optional)
Directions for DIY Name Stamp Block
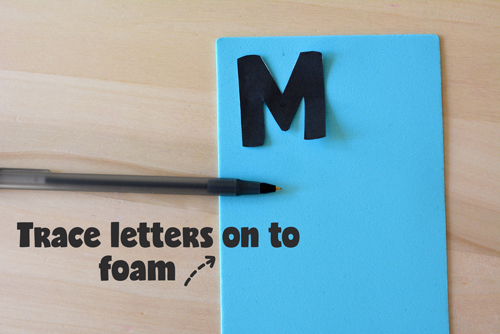
You can either freehand the letters or use a font from the computer. I decided to print a block letter font off the computer and cut out the letters to trace on to the craft foam. Remember you only have six sides on a block. If the child has duplicate letters in his or her name, just stamp that side twice. If you have extra spaces you can add fun designs like a heart or a star to stamp.
Next, trace the letters on to the craft foam. Depending on the thickness of the craft foam you may want to double the letters. I used two pieces of foam for each letter. After you trace the letters cut them out.
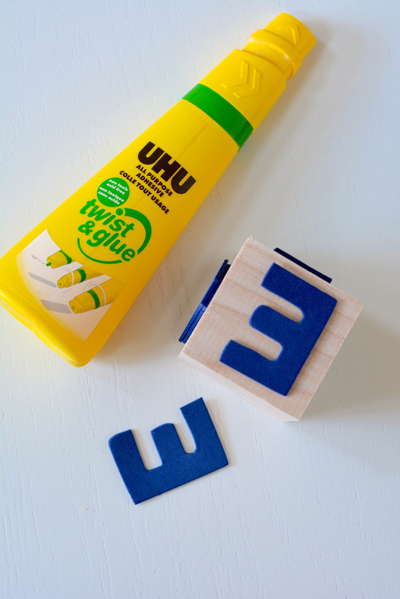
I love the UHU glue because it’s powerful and clear. Make sure give it time to dry before you use the stamper. Stack the two letters to create a thickness and glue. Be sure to glue each letter to the block backwards.
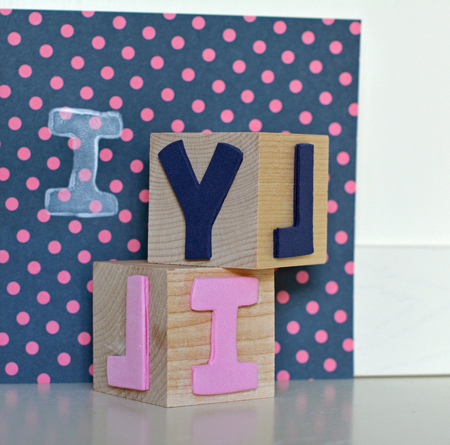
Let the glue set overnight and you are ready! You can use the stamp with a stamp pad or finger paint. My daughter painted it on and then stamped it on to the pad.
Thanks FamilyFun Magazine for this awesome craft idea. If you decide to make it be sure to tag @FamilyFun on social media.

I loved this simple and sweet craft idea!! I am sure kids will love writing letters now
What a fun idea! Perfect for the little ones!